Installation guide
This document describes step by step installation and configuration process of Sycope 2.X on VMWare ESXi version 6.5+.
For additional resources and information, please visit Sycope LLC website at www.sycope.com.
1. Image download
To download the Sycope system image, log in to the Sycope Portal https://portal.sycope.com.
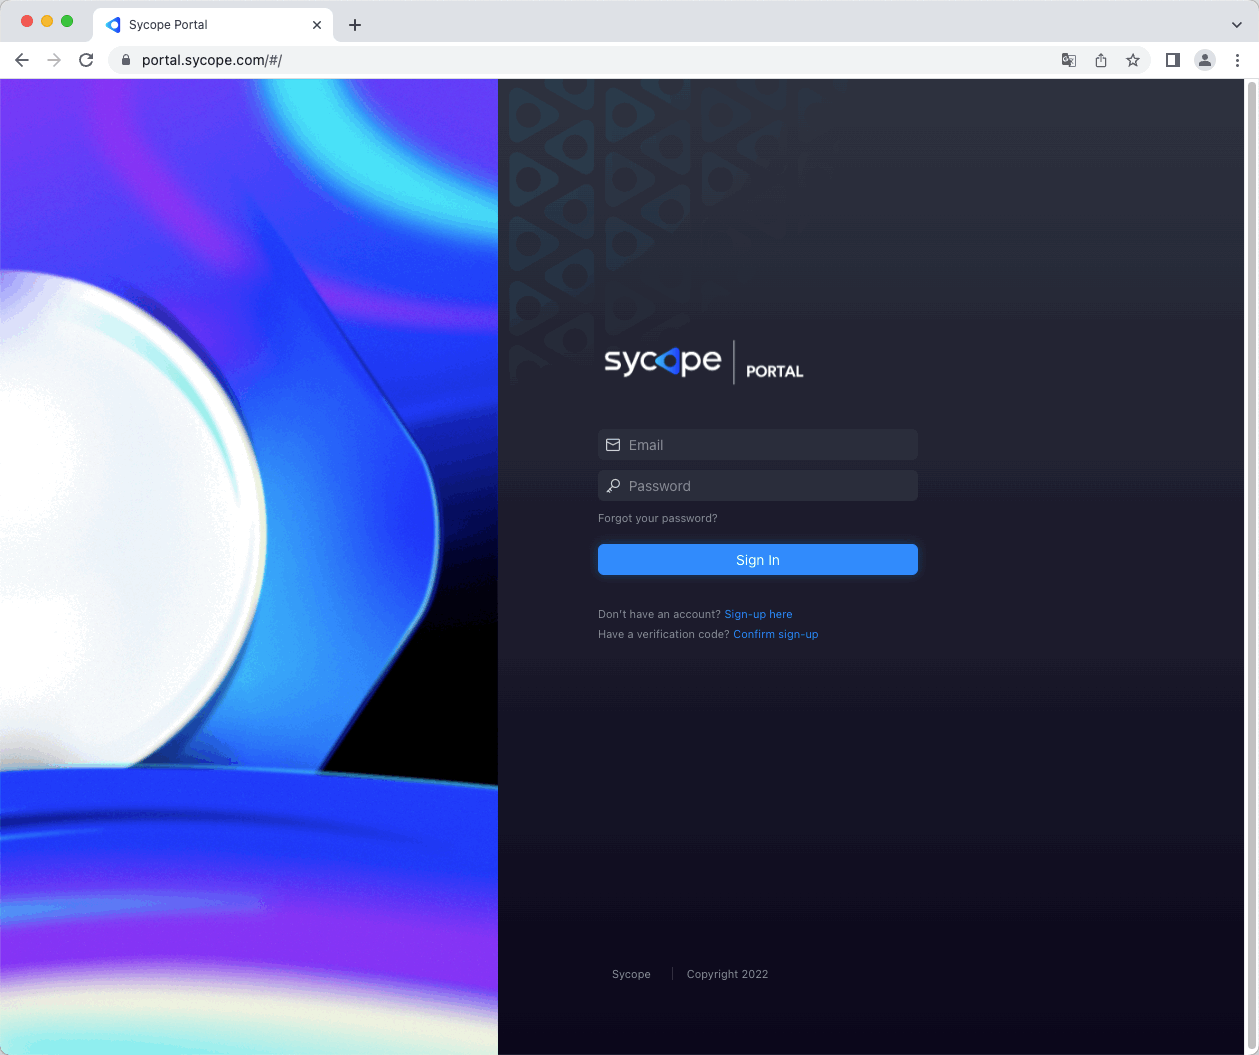
After logging in, go to the Images menu where you will find system images that you can download.
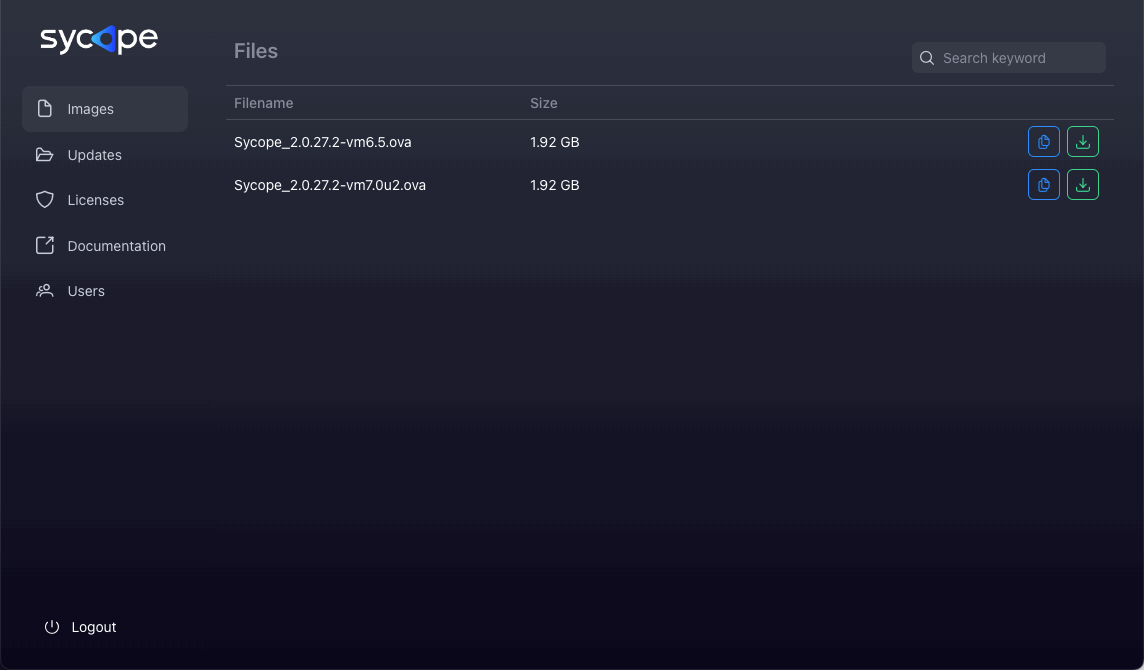
Download the image that suits you by clicking the icon to its right.

In our example, we are using Vmware ESXi v. 6.5 so we download an image named Sycope_2.0.27.2-vm6.5.ova where “vm6.5” means that it is created just for this version of the system.
If you have a VMware ESXi version for which there is no image on the Sycope Portal, you can use a tool provided by vmware https://developer.vmware.com/web/tool/4.4.0/ovf that allows you to import and export OVF packages to and from many VMware products.
2. Deployment
In order to perform the successful installation, please follow below steps:
- Log in to VMWare ESXi.

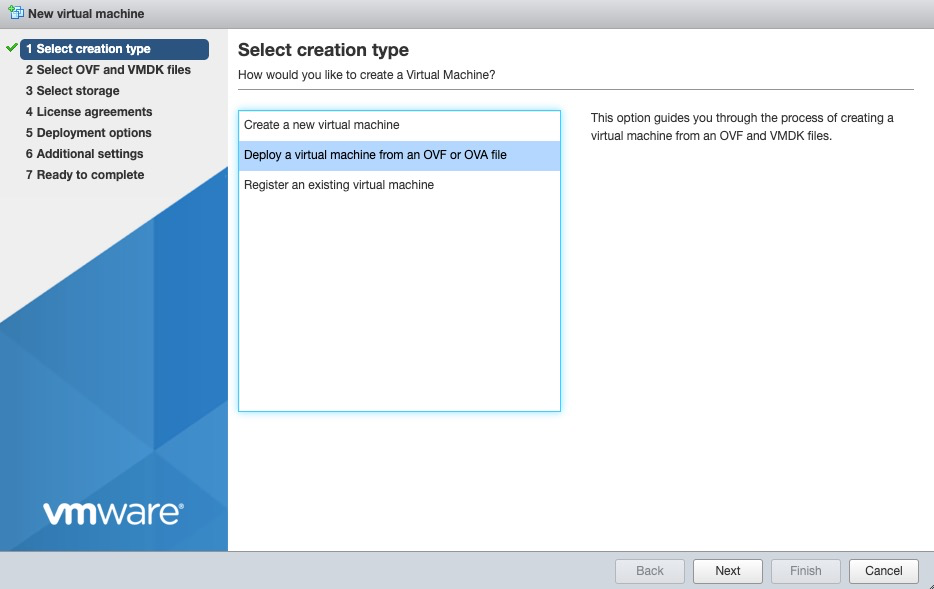
- From Navigator Menu go to Virtual Machines. Click on Create / Register VM. Pop up window will show up with few steps to be completed.
- Select Deploy a virtual machine from OVF or OVA file, and then click Next.
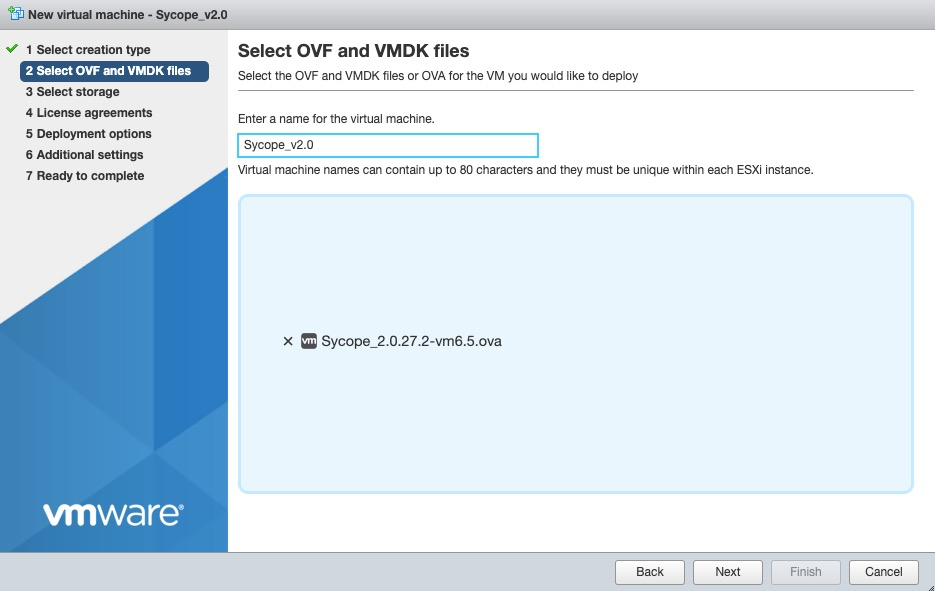
- Enter a name of virtual appliance you want to create. Browse the OVA file by clicking on blue parallelogram or drag and drop on it. Click Next,
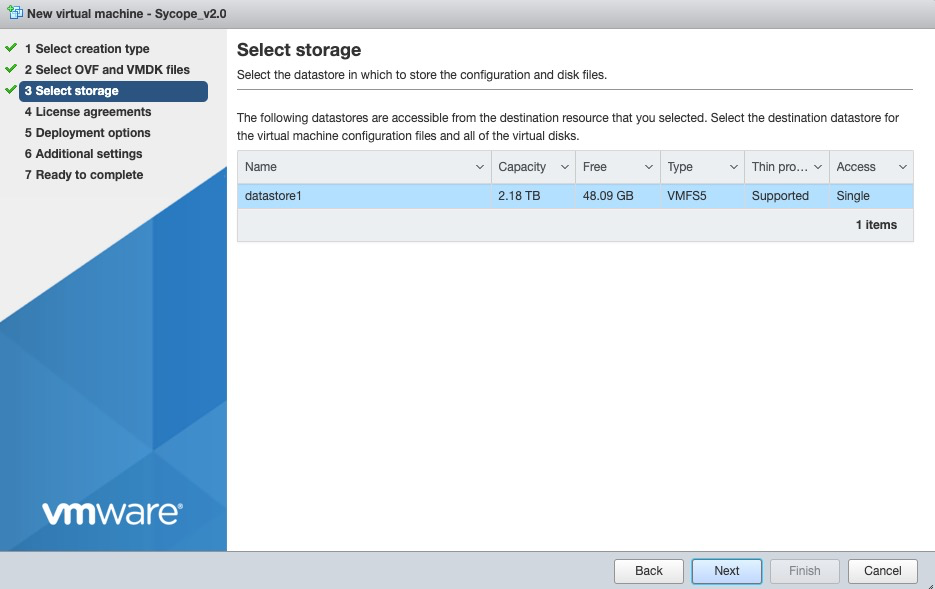
- Choose desired datastore that will hold the FlowControl XN files. Click Next.
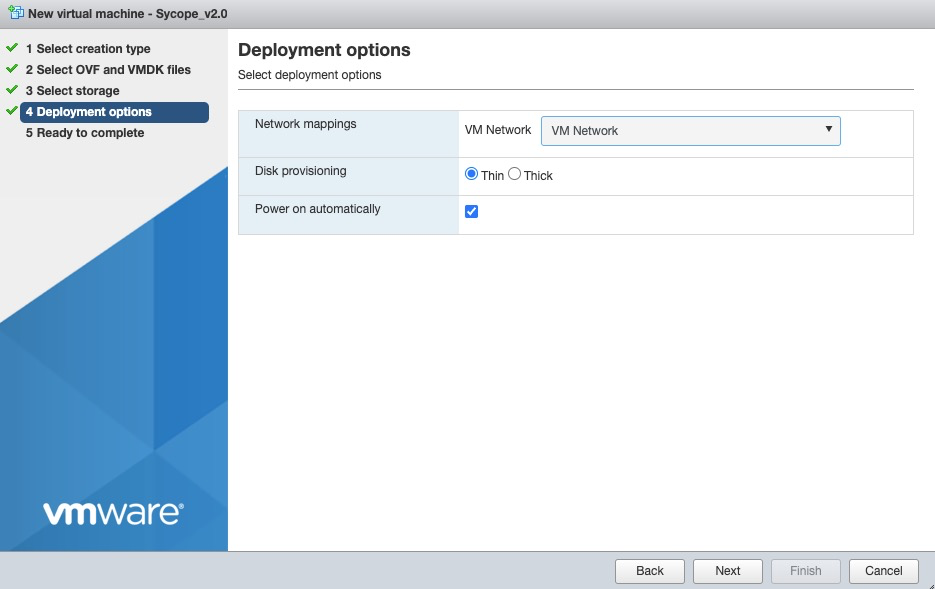
- Select data provisioning options depending on your requirements. Make sure that the Power on automatically option is deselected. Click Next.
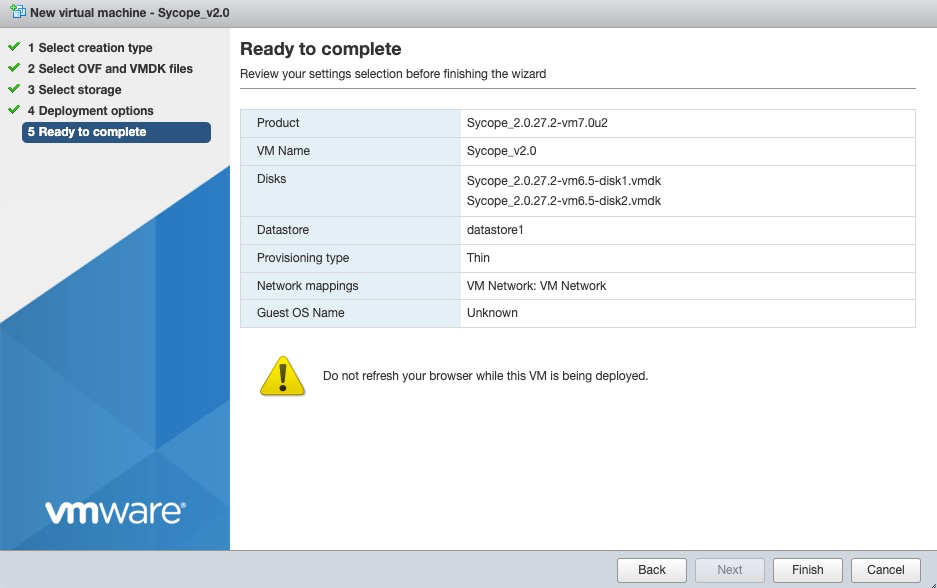
- After completing all previous steps, pop up window will show up, summarizing all information about the virtual machine that has been created. Click Finish in order to start a deployment process.
3. IP address, DNS Server and Gateway configuration
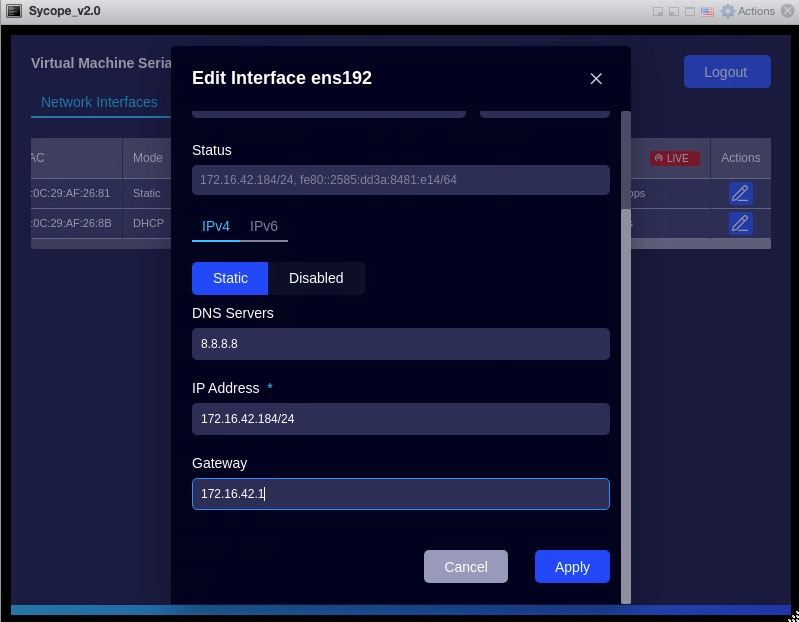
For operation of the system it is necessary to configure the network parameters so you need to configure the appropriate DNS Server address, IP address and Gateway address.
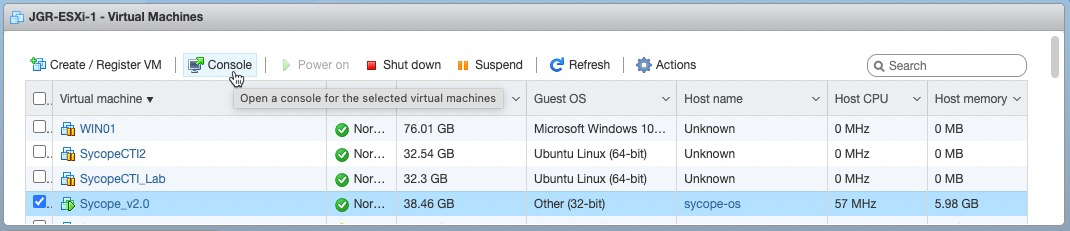
When the installation process is complete, please start the installed system and then log in using the ESXi Console.
The Sycope default password and username for the VMware Console:
user: admin
password: admin123
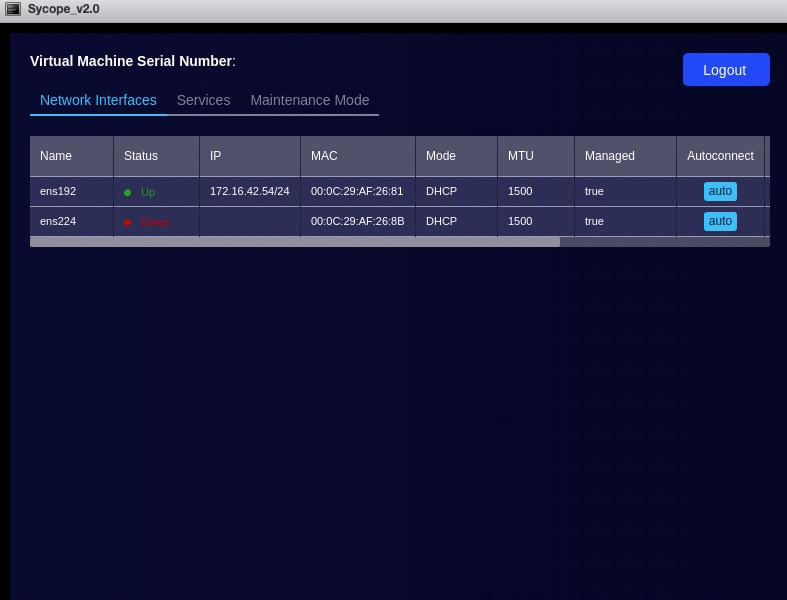
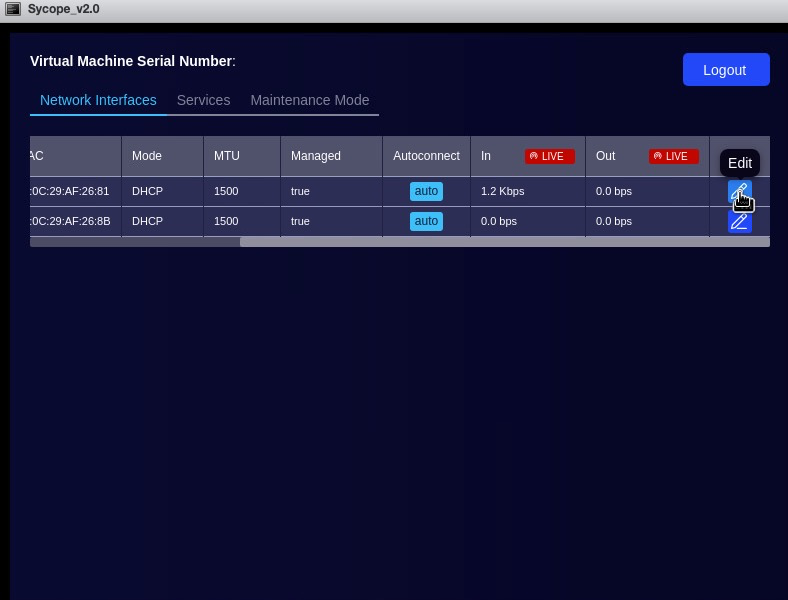
After logging into the system via the VMware Console, select the Network Interfaces Tab and then change the settings of the selected Interface.
4. System activation
To activate the Sycope system follow the steps below.
- Log in to the Sycope Portal https://portal.sycope.com and check if you have an active template where you can make an upload license request.
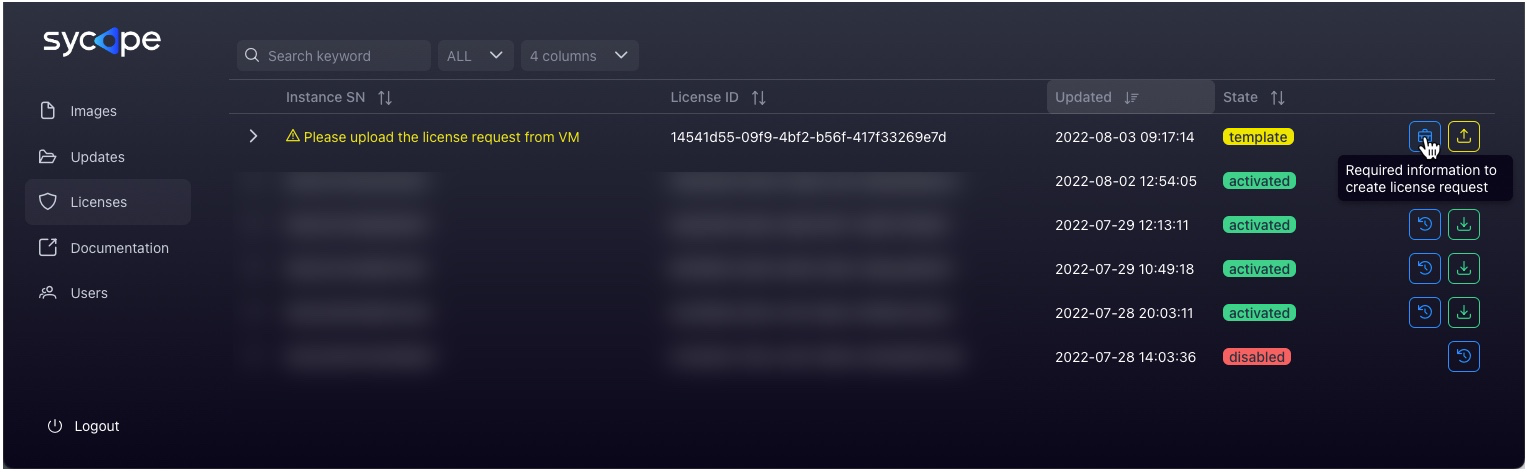
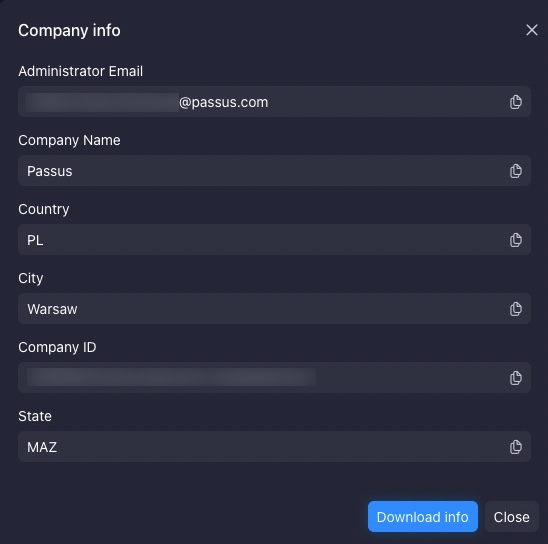
- Click the icon Required information to create license request and then check and save the information displayed in the Company info window
- Using a web browser, log in to the installed Sycope system to be activated.
The Sycope default password and username for www interface:
user: admin
password: qwerty
It is highly recommended to change default password !!!
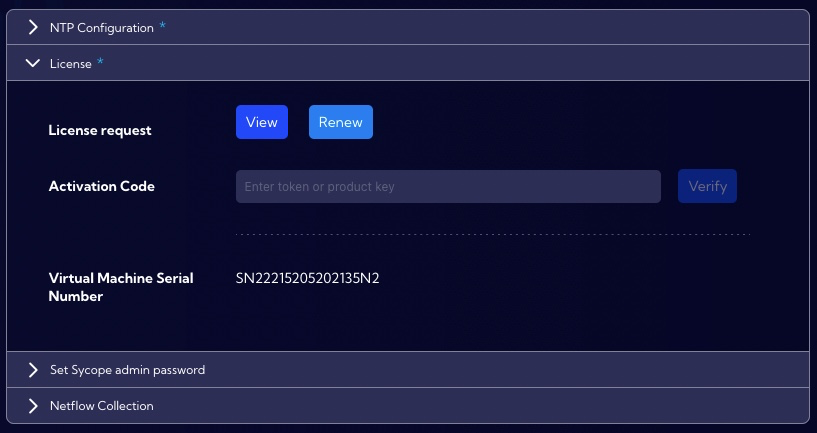
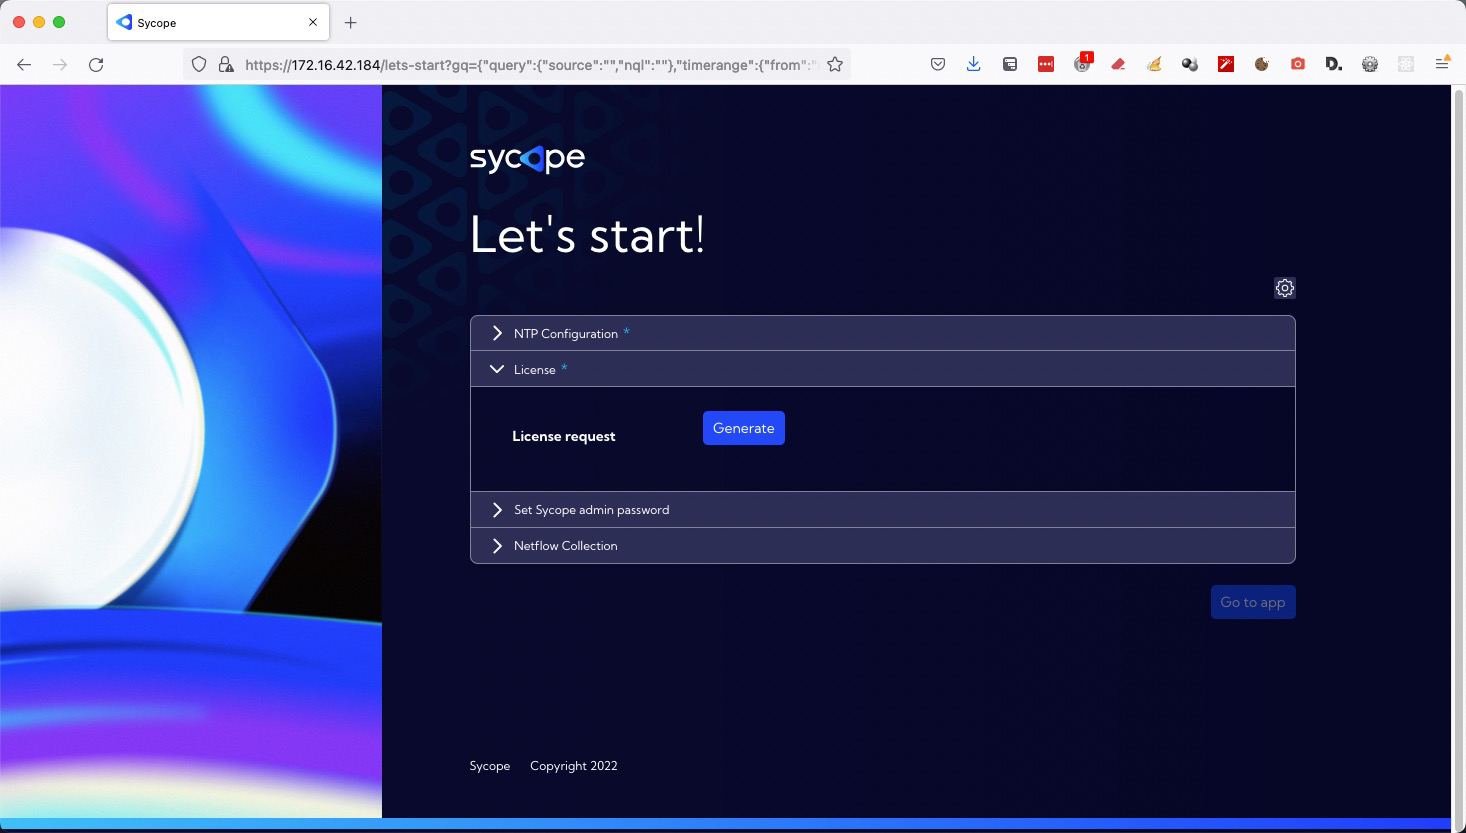
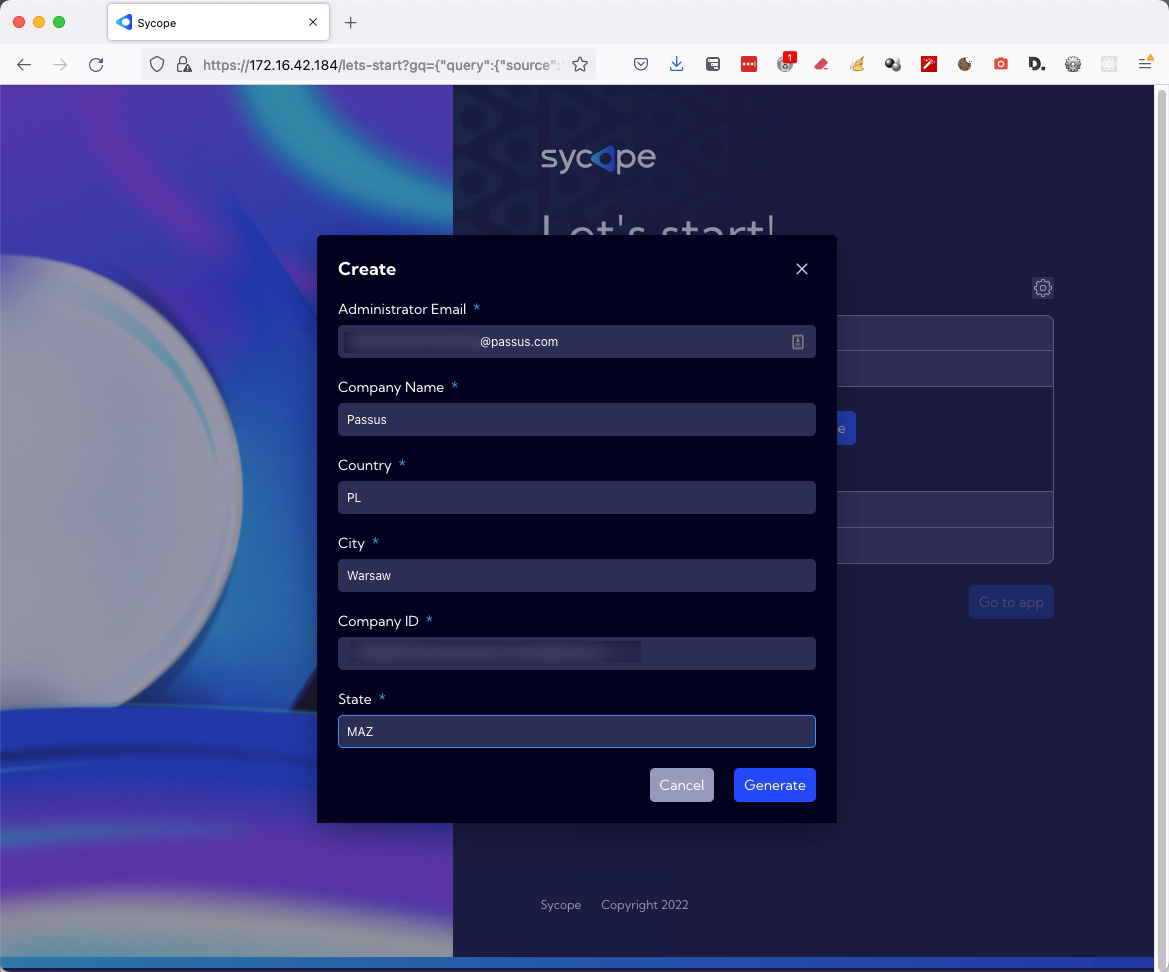
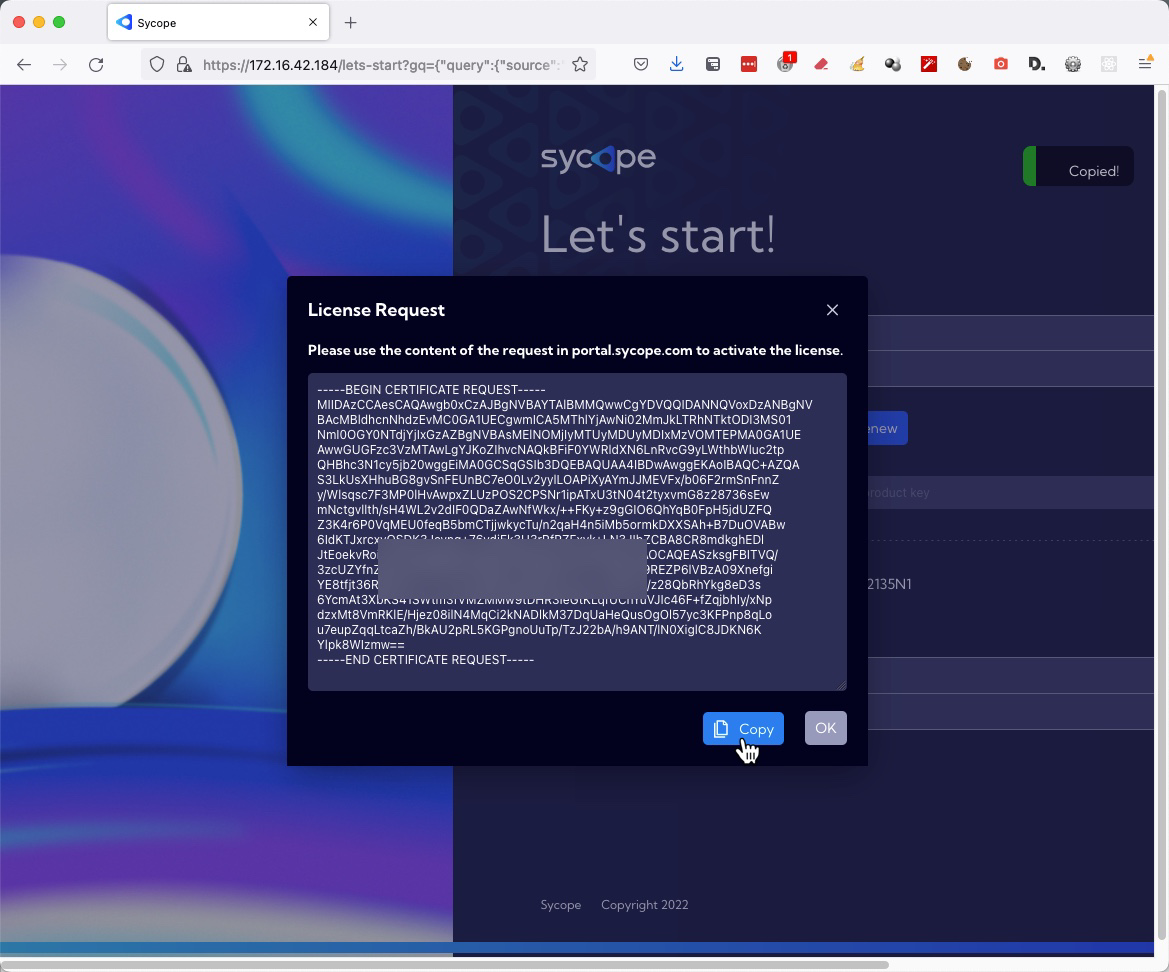
- Generate License request. To do this, go to the License tab then click Generate and fill out the form with exactly the same information as the Company info form on the Sycope Portal. After entering the information, click Generate on the form and then copy the generated License request.
The information entered in the License request form must be identical to that in the Company info form on the Sycope Portal. Any change or mistake will result in rejection of the request. If the License request was rejected, correct the data and renew the License request by clicking the Renew button.
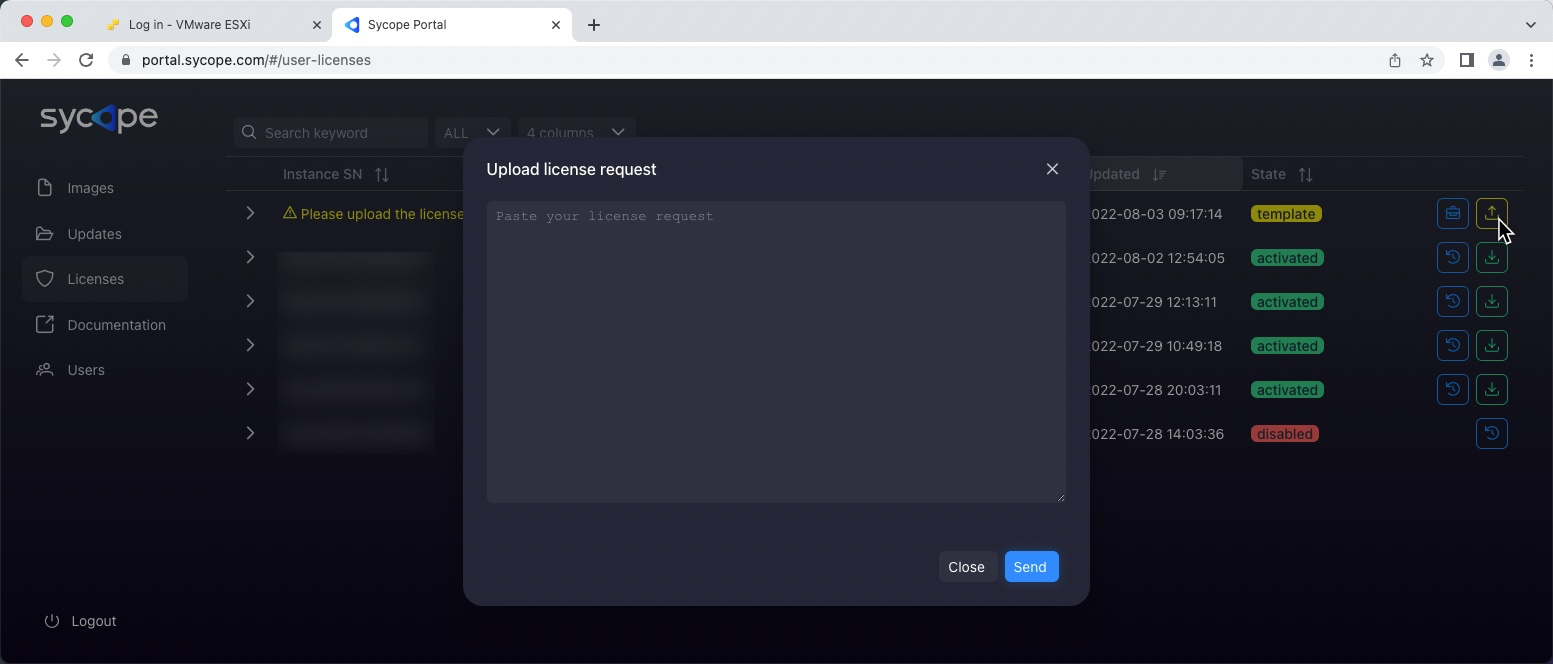
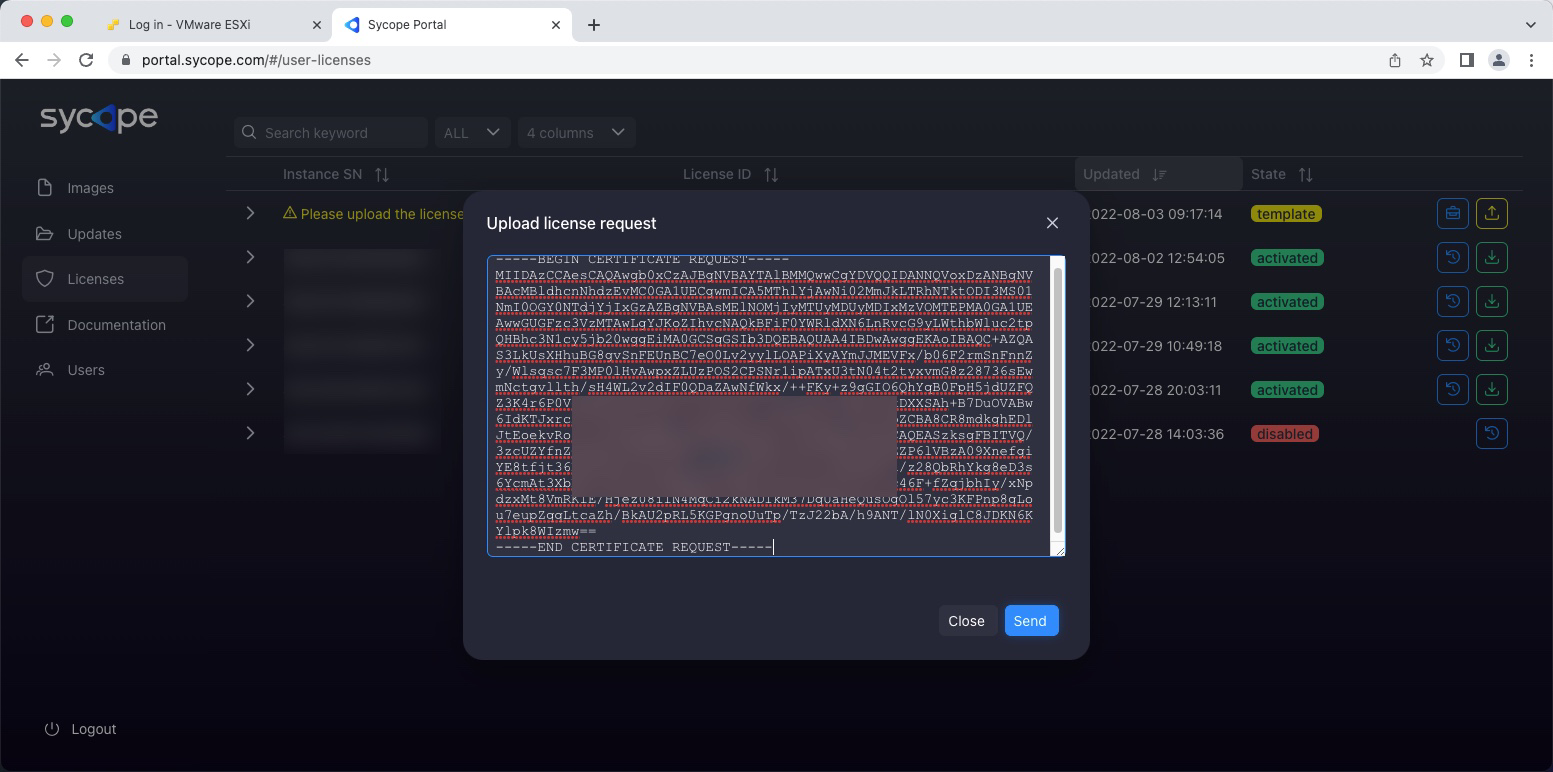
- Go to the Sycope Portal again click the Upload license request icon and paste in the contents of the License request. Then click Send. A wait_for_admin status will appear next to the license.

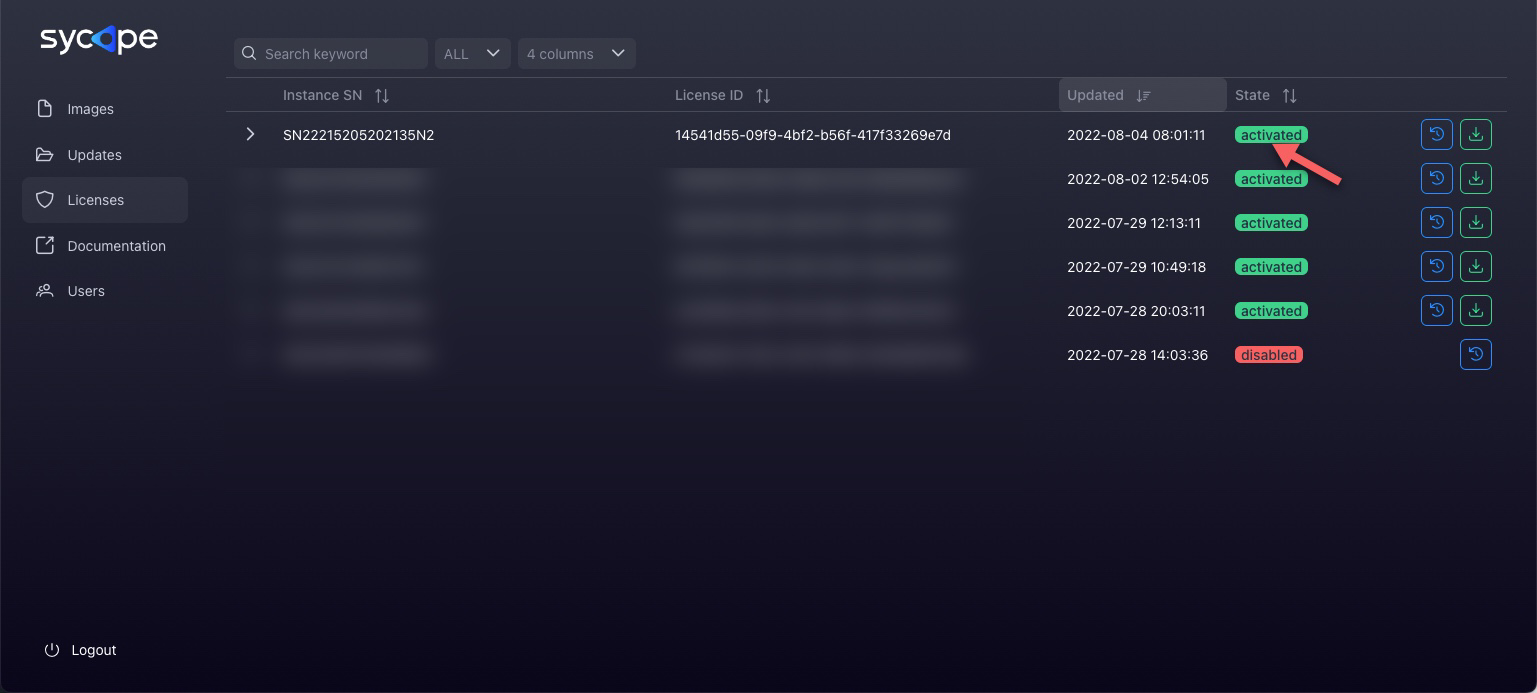
- When the license request is approved by Sycope Teem the license status on Sycope Portal will change to activated. Click the Activation token icon and save the contents of the window to the clipboard.
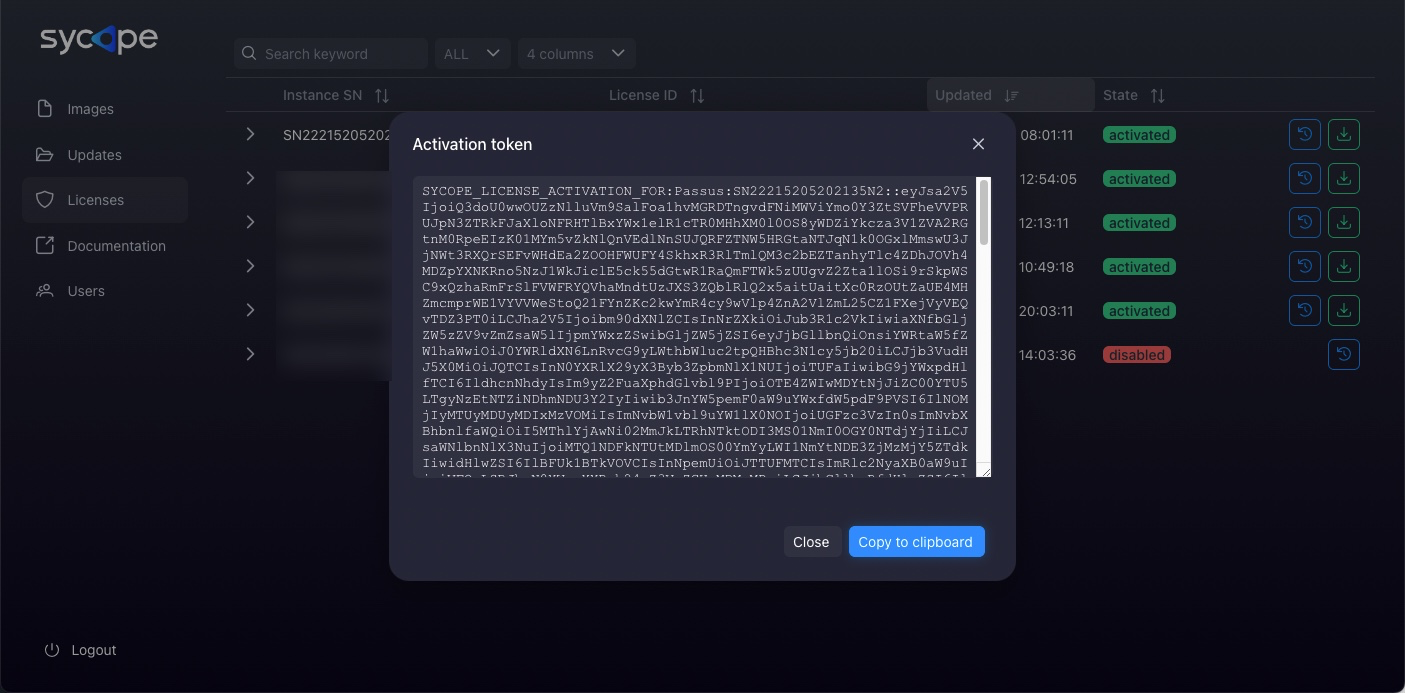
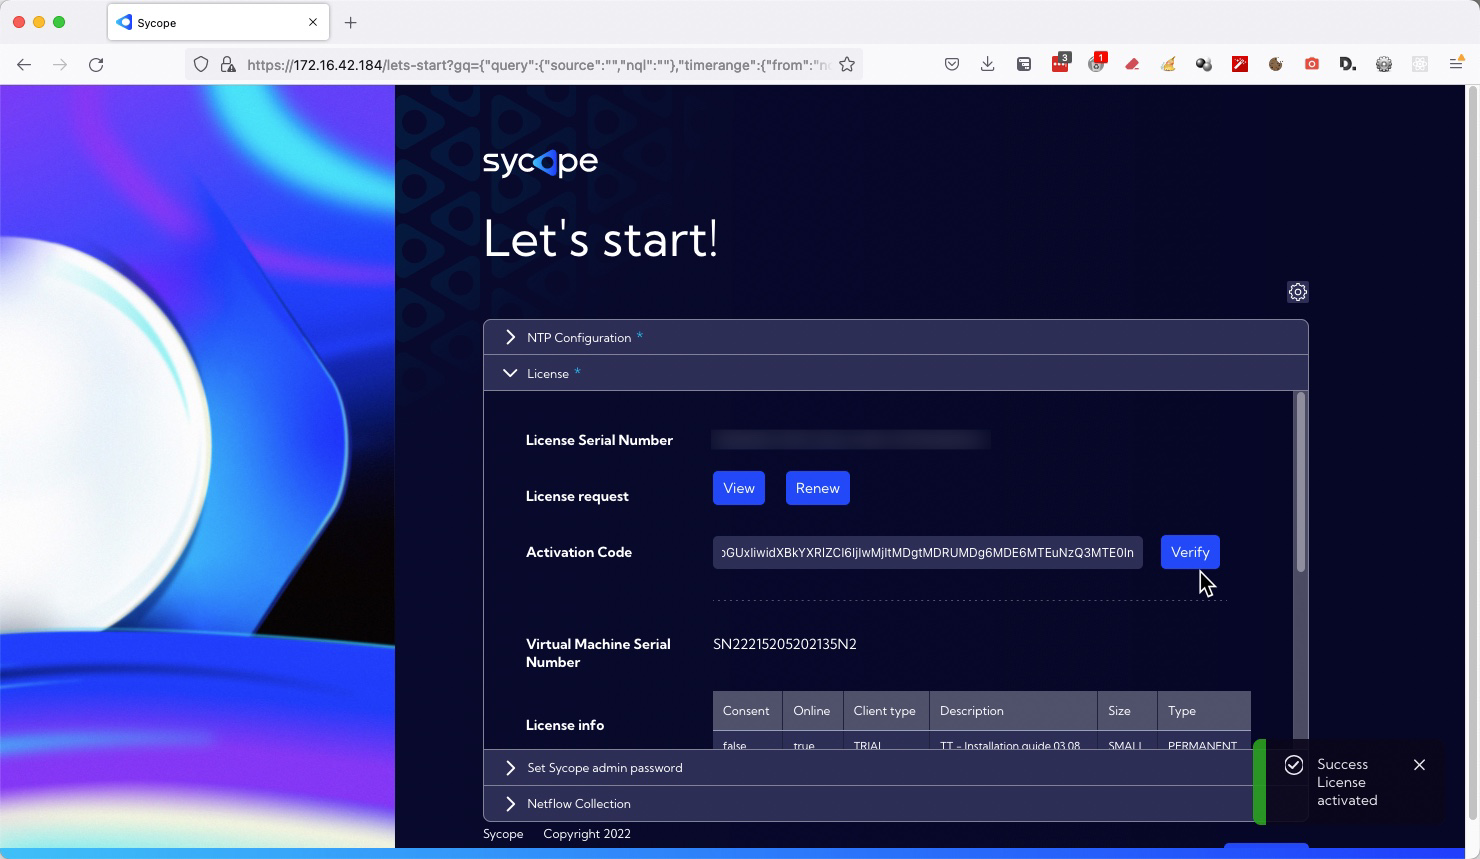
- Go to the web browser window and log back into the Sycope system. Go to the License tab, paste the Activation token into the Activation Code field and click Verify. If everything was done correctly, the message Success license activated will appear.
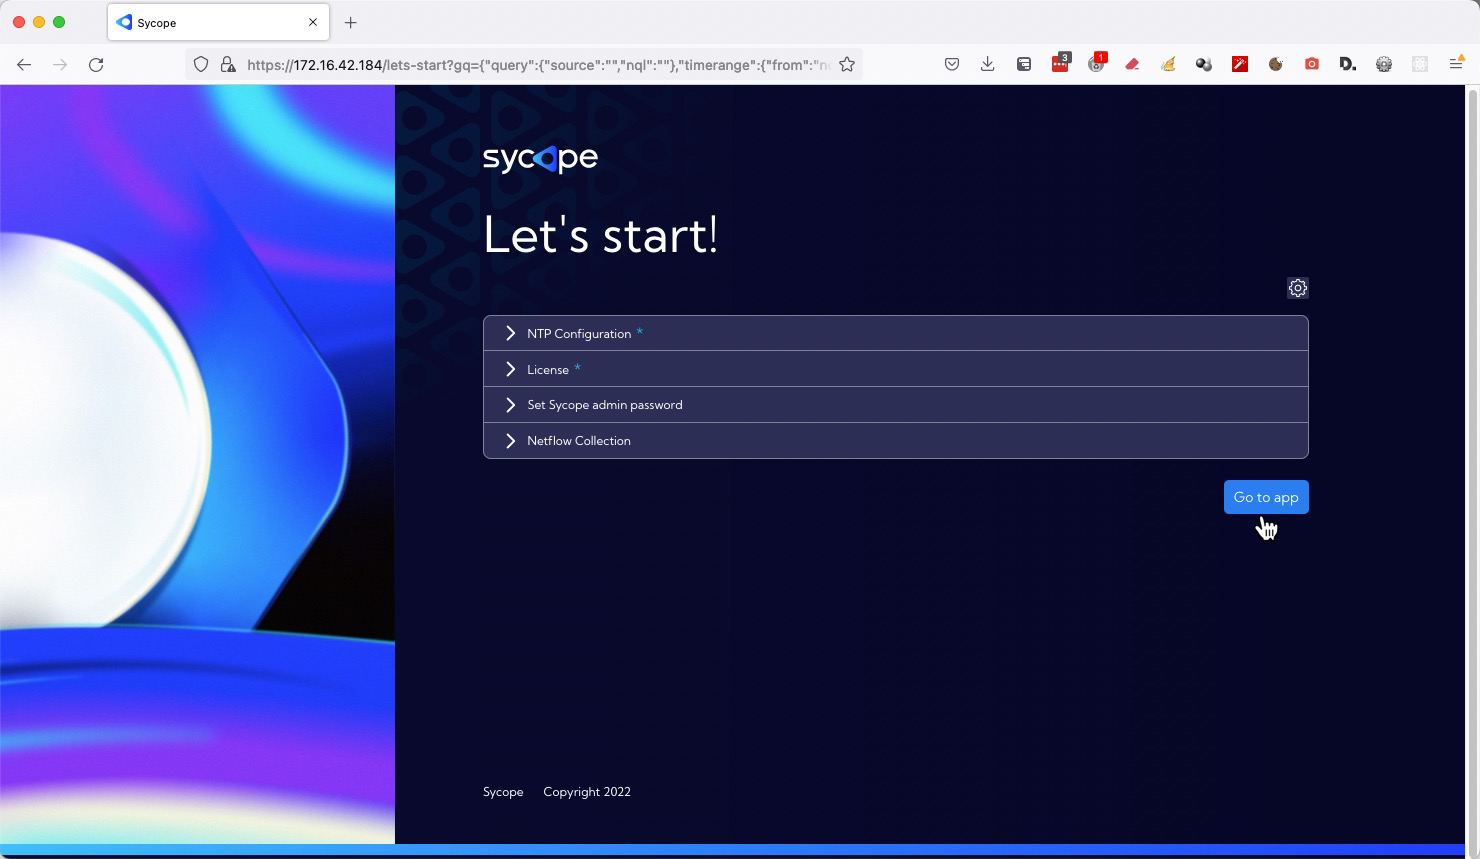
- Go to system by clicking Go to app. The Sycope system is ready for use :)
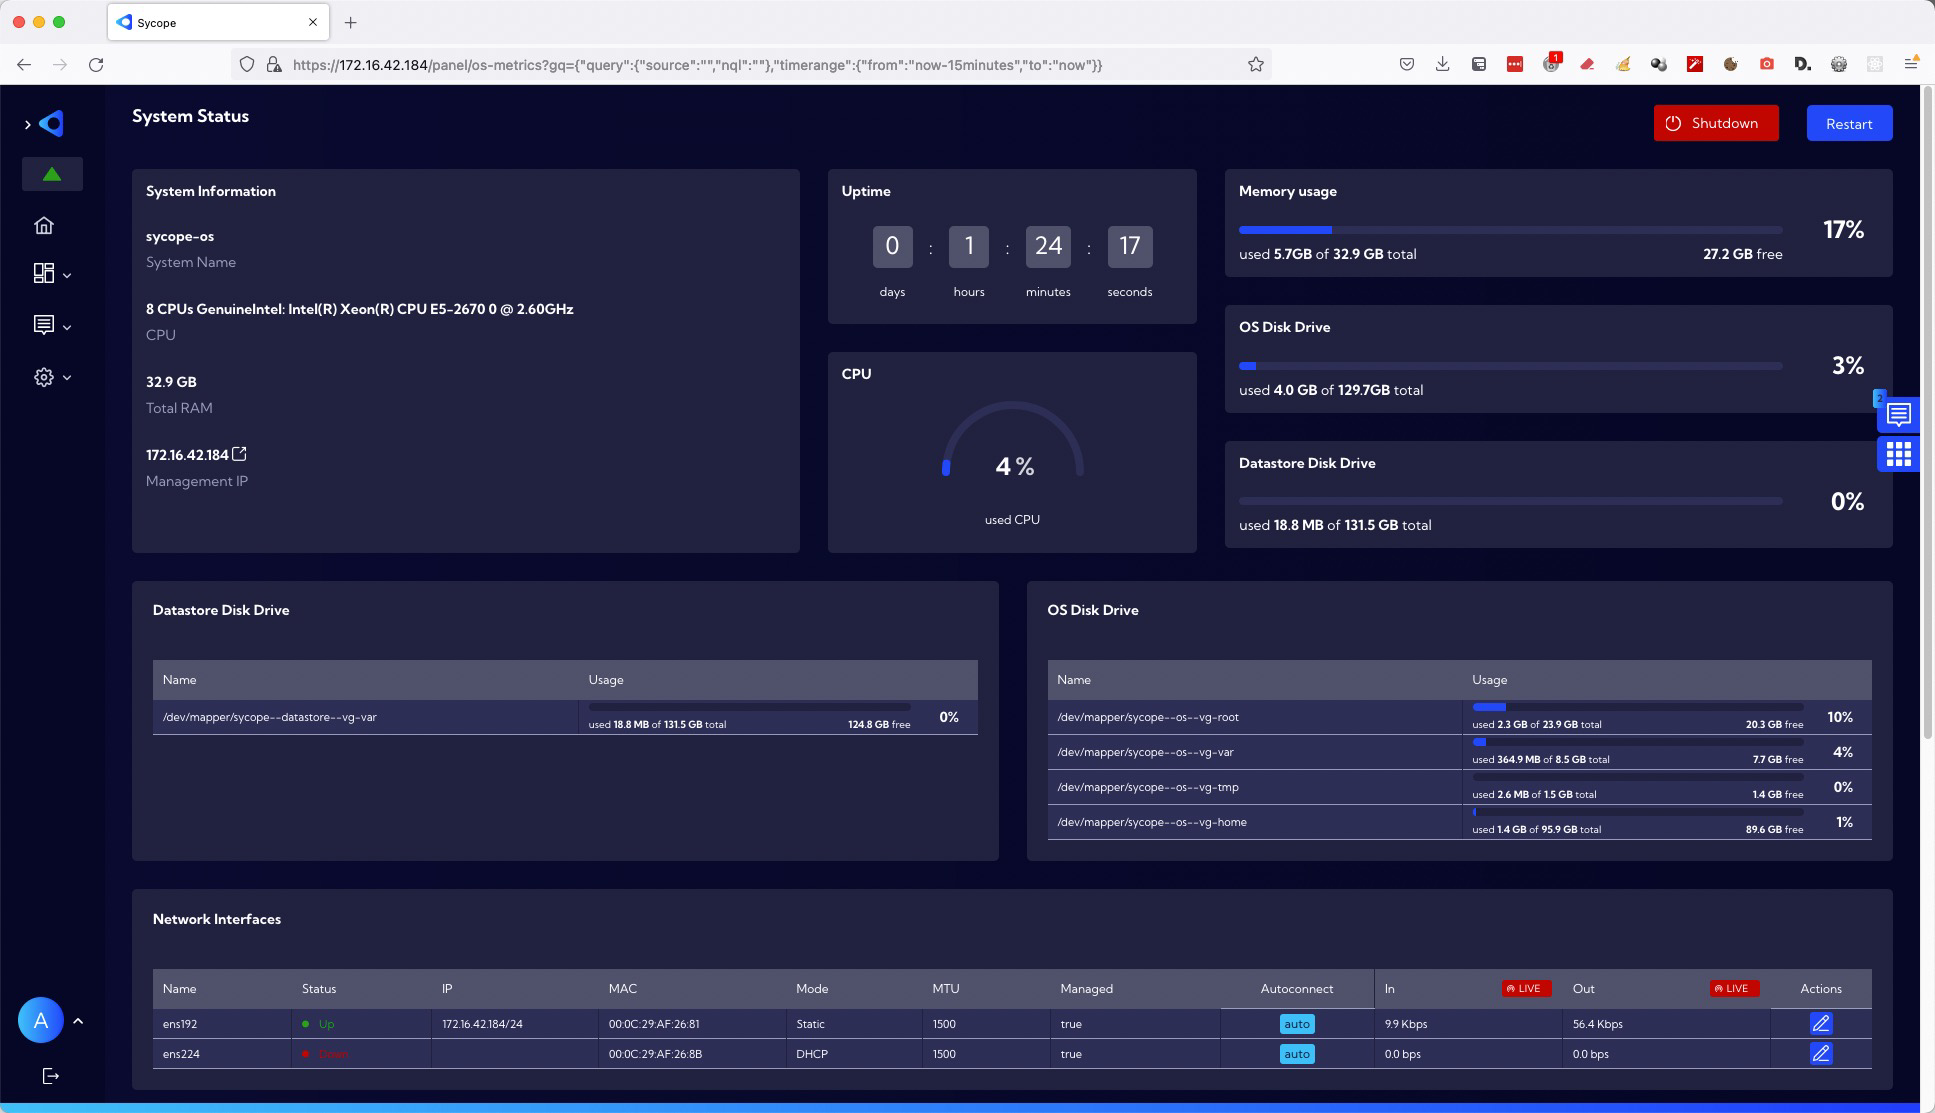
After activation, the System needs about 15 minutes to start collecting data